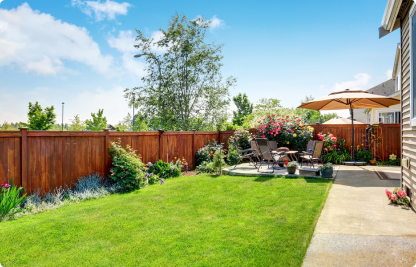
We are finally moving into those sunny summer months, and where better to start the home improvements than in the garden?
Has your ugly shed has been staring up at you from the bottom of the garden for as long as you can remember?
Are you a keen gardener that breaks your heart at the end of every summer when your tomatoes wilt away with the cold autumn breeze? Can you not afford a greenhouse? Do you simply not have the space?
If you answered yes to any of the questions above, you’ve come to the right place! We’ve got an awesome blog on how you can reinvent your old shed into a fully functioning greenhouse.
Benefits of a Shed
- A shed is great for storage and providing a place to keep things that aren’t used daily in the house, out of the way – artificial Christmas tree anyone?
- A shed is also a great place to keep unsightly equipment out of eyesight and in a safe place (some might argue a rustic spade can make for a nice feature piece, but most would rather it not be in the house)
Benefits of a Greenhouse:
- Keeping your fruit and vegetable babies nice and warm and growing through the ever changing Scottish weather
- Protecting them from pests – insects, foxes, the neighbours terrorising pug etc.
- To grow things the Scottish weather would normally disagree with
The shed-greenhouse combination
The problems normally associated with getting a greenhouse when you already own a shed, are the costs and the space. A conversion addresses both these concerns. You can utilise the space of the shed to its fullest potential, by making it dual functional.
There will of course be some costs and labour time involved, but in comparison to what you would spend buying or building a new greenhouse and maintaining both, it is definitely a wise investment.
And think, you can grow your veggies on one side, and hide all the ugly tools on the other.
Now I have you nodding your head and questioning how you haven’t thought of this before, you’re ready to read our simple How-To Guide below.
How-To Guide
So we’ve won you over to the idea of a half-shed half-greenhouse garden structure? Excellent! The next section will give you basic steps for converting a shed into a greenhouse.
If you’re not comfortable around a hammer, we strongly recommend you find someone who is as it can be relatively dangerous.
Step #1 — Plan Ahead
First, you need to make your vital decisions: Full greenhouse or combination of both?
A shedhouse? A greenshed? Whatever it is, it’s a great idea.
If you have a shed that is big enough to have a combination of both then why not go for it? Unless you know for sure you only want to use the structure as a greenhouse, or it’s simply too small to make the most of either, then we would recommend that you go for a combination of the both – a greenshedhouse if you will.
Step #2 — What type of glazing are you going to go for?
There’s a load of option available to you. Do you want horticultural glass? What about toughened glass? Or a polycarbonate?
We usually recommend fiberglass as it’s strong, lightweight and easy to handle. Also, due to its ridged edge, it overlaps and prevents moisture from coming in.
Step #3 — The placement
It’s time to decide where you’ll place your new shed-greenhouse and work out which sides you’ll convert into greenhouse walls.
Ideally, you’ll have the greenhouse section facing towards the rising sun in the east so the greenhouse heats through the day and stays warmer for longer through the night
Step #4 — The structure
Before you begin you should be certain that your shed is in good condition.
Make sure there is enough room and access points to not only do this endeavour but to also maintain it.
Once you are certain you must decide where you want the partition between shed and greenhouse to be on the inside.
Step #5 — The construction
It’s finally time to start building. Here’s what you do!
- Remove the wooden panels that you will be replacing with fiberglass from your shed. Remember this can either be the entire roof and sides if you are going full greenhouse, or your pre-decided sections of wall and roof if you are going for the combo option.
- If necessary add support across your rafters or wall studs to which you will be attaching the glazing panels.
- Measure and cut your glazing panels with the saw blade to the required size.
- Match up your glazing with the backing panels and drill the holes required
- Nail the backing boards onto the support across the rafters or wall studs.
- Finally, screw the glazing panels to the backing panels with the specialised screws.
- Finishing Touches
- Well no one wants an empty greenhouse – go get planting!
- Oh, and try not forget about the bike.
- Nothing else to do now, but enjoy your new greenshedhouse!
If you are working on any shed conversions this summer please send us photos of your creations on Facebook or Twitter.